Start by selecting a size that is common for cards, so you won't have any problems printing at a print shop or mailing. The two dimensions I'm using in this post are 5" x 7" and 8" x 4". Here is a 7" x 5":
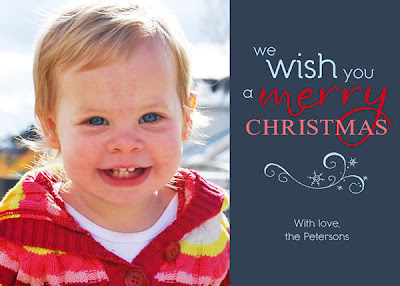 I dropped my photo onto the canvas, added a blue rectangle to the right and made some word art magic with some fonts from SNF. That's it! It was so easy!
ScrapNfonts has new holiday card font bundles called Trios. I used the Joyful Trio and SNF Daphne for the above card.
I'll walk you through this next one, which is only slightly more involved than the last--you'll see.
1. First I started with my canvas, 8" x 4" this time. I made the background green and added a long rectangle in a lighter green.
 2. I made another rectangle, a gray one, where I wanted my photo to be. I gave it a matching light green stroke (an outline around the edge) for a frame using layer styles.
 3. Next - probably one of the most important things to learn in Photoshop if you do a lot of cards or scrapbooks - I used a clipping mask to add my photo. I dropped my photo in the canvas, then made sure the photo was just above the layer with the gray box. In the layers window I right click on the photo layer (specifically the text of the layer, not the image), then in the menu that appears, click "Create Clipping Mask."
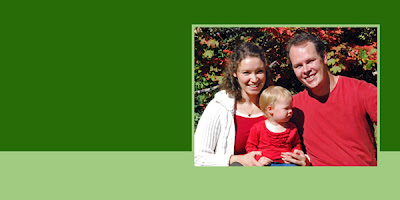 Voila! Nicely framed and everything.
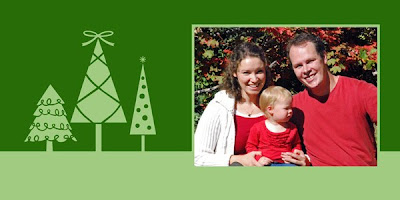
4. Now it's time to make it fun. I decided to use the Merry and Bright Trio for this card, so I'll start with DB O Tannenbaum. Shuffling through the dozens of beautiful trees, I picked just three. Three is always a good number to make things look artistic.
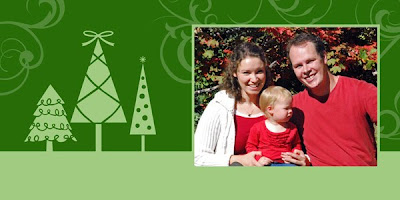
 5. Now we could keep it like this, nice and simple, but I want a little more drama, so I'm going to add some swirls from DB Dainty Swirl. I use this font a lot for subtle details. For this I enlarged some of the images really big, layered them below the photo, and set the swirly layer's opacity to 20%.
 6. Since everything so far is green, I want to add a little color, just a little. it's easy to use the paint bucket tool on DoodleBats, you just have to rasterize the text first (right click on layer > Rasterize Type). That's how I made the bow at the top of the middle tree red. Then I added some circles and lines, a little offset so it looks kind of funky, for ornaments.
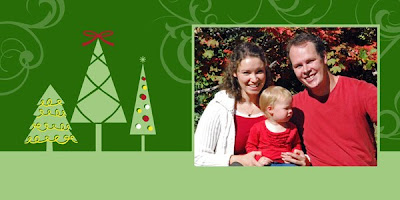 7. Finally, pick your words and plop them into the layout! Ta Da! A finished Christmas card.
 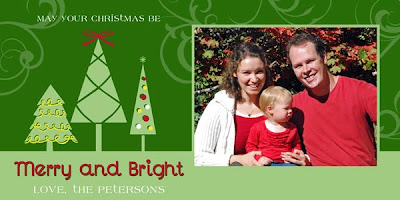 Be careful about the alignment of multiple rows of text. To make the design look more professional, try to keep them all aligned the same, either center or to one side. You can select multiple layers of text in the layers window, then in the top menu bar click Layer > Align > then pick your alignment.
Using this same simple layout I also made this card
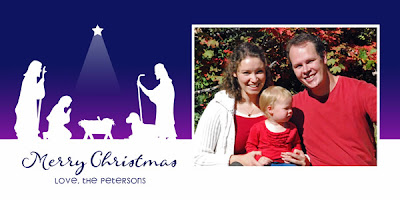 using the Nativity Trio, and this card
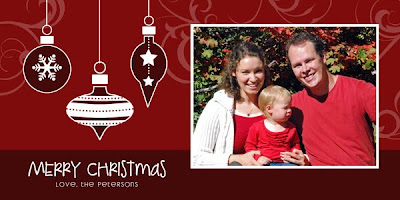 using DB Christmas Ornaments, LD Gregarious and LD Woodland.
If you are comfortable with clipping masks, layers and spacing, try making a geometric photo collage. They are totally hot right now. I made this one with the Holiday Birds Trio.
 If you need more inspiration, I always get loads of ideas when I search google images with phrases like "Holiday Photo Cards".
Good luck! If you make your own Holiday cards this year using SNF product, I'd love to see them! Post them in the SNF Idea Gallery or your blog and let me know the link.
Happy Holiday Greetings!


2 comments:
FANTASTIC.......TO SAY THE LEAST....LOVELY FAMILY TO...
Hello! Would you care to tell me which version of Photoshop you are using? Thanks!
Post a Comment